Custom URLs are available to Standard and Professional level clients.
To create a custom URL:
- Go to Assign | Custom URL.
- Click on the Add New Custom URL button. You will see a page like the one shown below:
.png)
Type in a name for the URL. This name will be appended to your URL to create the new custom URL. For example, in the page shown above, the URL is https://tara.vitapowered.com/pearsonqademo. If you type “MyTest” into the URL Name, the new custom URL will be:
https://tara.vitapowered.com/pearsonqademo/MyTest
The URL Preview displays the final Custom URL. The URL is not case-sensitive so you could access this example URL as shown or as https://tara.vitapowered.com/pearsonqademo/mytest.
- The Products tab is used to select the product/assessment that will be assigned to this Custom URL;
.png)
- Access the Settings tab to set up various Custom URL options:
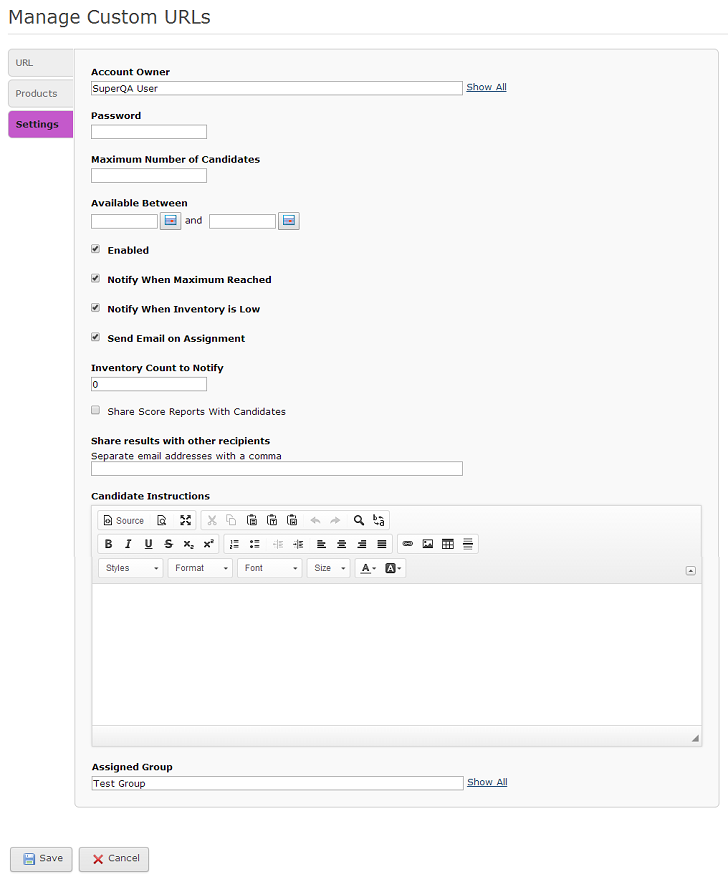
The table below describes each of the available Custom URL options:
| Account Owner |
Select the user who will receive Test Completed emails for candidates using this Custom URL. The default value is the user who created the Custom URL. |
| Password |
Optionally enter a password for the Custom URL. If entered, the candidate will be prompted for the password prior to gaining access to the Custom URL page to enter their candidate information. |
| Maximum Number of Candidates |
Optionally enter the maximum number of candidates who will be using this custom URL. If someone tries to access the URL after the maximum has been reached, they will receive the message, “The page you are trying to access does not exist.” |
| Available Between |
Optionally enter a date range for accessing the Custom URL. If someone tries to access the URL on a date outside the date range, they will receive the message, “The page you are trying to access does not exist.” If the date range is left blank, the URL will be available immediately after saving (as long as it is “Enabled”—see the next item). |
| Enabled |
Specify whether the URL is available or not. If No is selected, candidates will receive the message, “The page you are trying to access does not exist.” |
| Notify When Maximum Reached |
Select Yes to have the system automatically send an email to the Account Owner when someone tries to access the URL after the Maximum Number of Candidates is reached. (Note: The email will not be sent until someone attempts to access the URL AFTER the maximum has been reached. For example if the Maximum Number of Candidates is set to 2, the notification email will be sent when the third person attempts to access the URL.) |
| Notify When Inventory is Low |
Select Yes to have the system automatically send you an email when the inventory dips below the level specified by the Inventory Count to Notify setting below. For example, if you have specified three (3) as the Inventory Count to Notify, you will receive an email as soon as the inventory level drops to three (upon usage of the fourth assessment if there are four assessments available). Additional emails will be sent each time a candidate uses the Custom URL until the inventory is replenished to a level above the Inventory Count to Notify setting. |
| Send Email on Assignment |
Specify whether you would like an email sent to the candidate once they successfully begin an assessment using the Custom URL. The email contains a link the candidate can use to gain access to the assessment in case their session is interrupted while they are taking the assessment. If something happens to interrupt their assessment, the candidate can click the link from their email to re-access the assessment right where they left off. |
| Inventory Count to Notify |
Specify the inventory level at which you wish to be notified. |
| Share Score Reports With Candidates |
This option appears when the Allow Candidates to View Score Reports setting in the Client account record is set to Yes. If you have this option available, you have the ability to allow candidates to view their results reports. Setting this option to Yes will enable any candidate who uses this Custom URL to see the score report associated with this Custom URL's assessment. See Candidate Login Procedures for more details on sharing score reports with candidates. |
| Share results with other recipients |
If someone other than the assessment administrator should receive the results for this candidate, you may enter their email here and they will receive a link to the assessment results for this candidate upon their completion of the assessment. If more than one person should receive the results, you may enter multiple email addresses separated by commas. Each email address listed will receive a link to the completed results. |
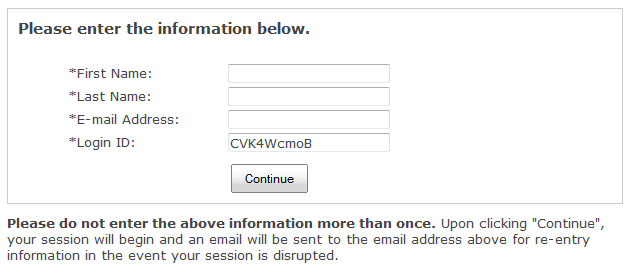
| Candidate Instructions |
By default, the instructions, "Please enter the information below." are displayed on the Custom URL registration page, as shown below:
If you would like to display customized instructions, enter the instructions you would like to display in the Candidate Instructions area. These instructions will REPLACE the "Please enter the information below." text on the Custom URL account creation screen, as shown in the example below:
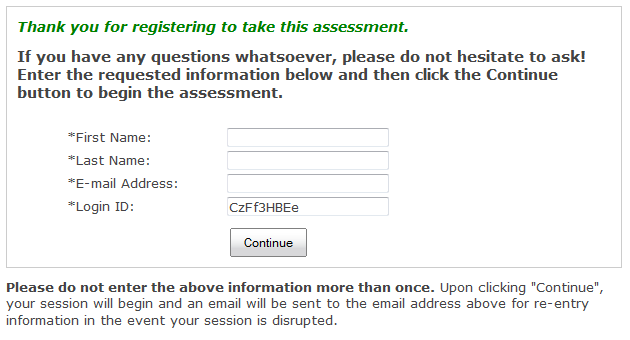
Note that despite the formatting options within the Settings page, the message will appear bolded.
|
| Assigned Group |
Group that will contain all candidates who take the assessment via the Custom URL. Click "Show All" to display a list of the existing groups. Select an existing Group from the drop-down list. |
- Click the Save button to save the Custom URL. The Custom URL can be used immediately as long as you have available inventory, are in the available date range (if set), and the URL is "Enabled."
Using a Custom URL (the Candidate experience)
When a candidate navigates to the custom URL in their browser, they will see the following page:
At this point, the inventory is immediately reduced by one (1) assessment. In order to register to take the assessment, the candidate needs to enter the required fields and click the Continue button. This creates the candidate record in the pan system and assigns and launches the assessment.
If the candidate ends up not registering to take the assessment, follow the procedures for Expiring Unused Assessments and Reclaiming Expired Inventory to place the assessments back into your usable inventory. The assessments will appear in the Assigned Detail page (accessed by going to the Results tab and clicking the "Assigned" number for a particular assessment) with the First Name, Last Name, and Login ID blank and the word "Auto" in the Assigned By column.
Note for On-Activation Clients: If you are an on-activation billed client (meaning you are billed once a month for all assessments consumed), you have the ability to Expire unused assessments which may be sitting in assigned status on your account. If you wish to clear your Product Status Matrix of assigned assessments that are no longer needed, you may do so by expiring them. You are not charged for any assessment until it is consumed; therefore, you will not be billed for any assessment you expire nor will you be able to Reclaim them.
Note: Once the user clicks the Continue button, the assessment is started and cannot be reclaimed.
Custom URL Password
If the Custom URL was created with a password, the candidate must enter the password in order to access the assessment registration page (shown above). Upon navigating to the Custom URL, the candidate will see the following page:

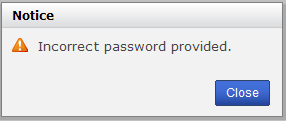
If an incorrect password is entered, the user receives the following notice:
Custom URL Not Available
A message indicating that the Custom URL is no longer available (shown below) will be displayed if a candidate accesses the Custom URL when one of the following conditions is present:
- Current date is outside the valid dates set for the Custom URL
- Maximum Number of Candidates has been reached
- Inventory for the assessment has been depleted
- Custom URL is not Enabled
.png)