In order to keep track of all candidates who took an assessment via a Custom URL you can place them into a Group.
To place Custom URL candidates into a group:
- Create a Group using Group Management (see "Creating a Group Using Group Management" below) or by importing candidates (see "Uploading Candidates to Create a Group").
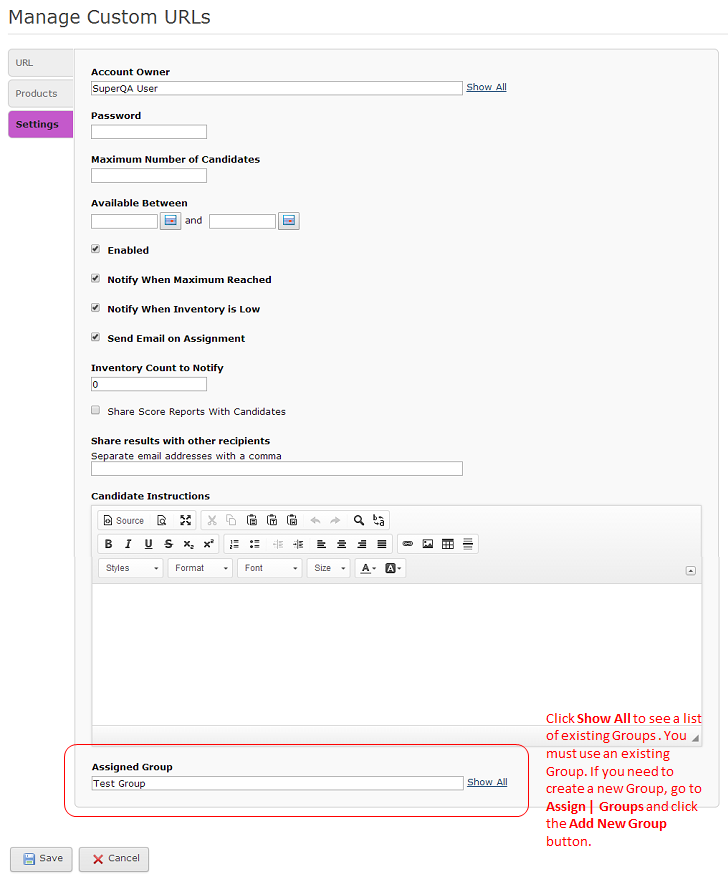
- When creating the Custom URL, select the new group from the Assigned Group drop-down list (as shown below). All candidates who take the assessment via the Custom URL will be placed into this Group.
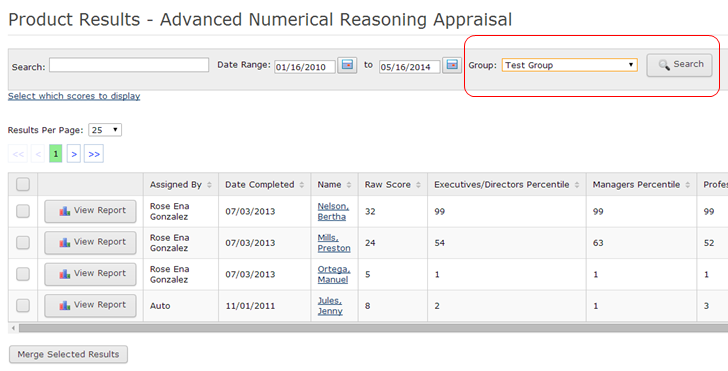
Once the Custom URL candidates are in a Group, you can perform group functions such as displaying the Assigned or Completed detail pages (accessed from the Product Status Matrix on the Results tab) by Group as shown below:
- Go to the Group Management page by selecting Assign | Groups.
- Click the Add New Group button. The following screen will display:
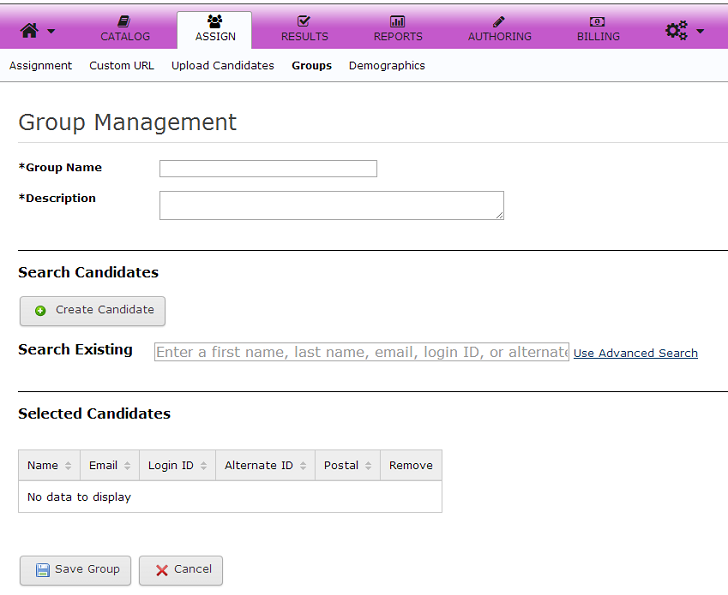
- Fill in values for the required fields, Group Name and Description. The area under Search/Selected Candidates is optional and can be left blank if you are creating an empty Group.
- Click the Save Group button to save the group.
[back to top]
- Create a CSV file containing one placeholder candidate. The format of the file would be similar to the one shown below:
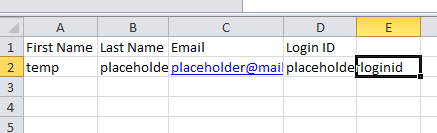
For additional details on creating the CSV file, see Uploading Candidates.
- Click Assign | Upload Candidates. You will see the following page:
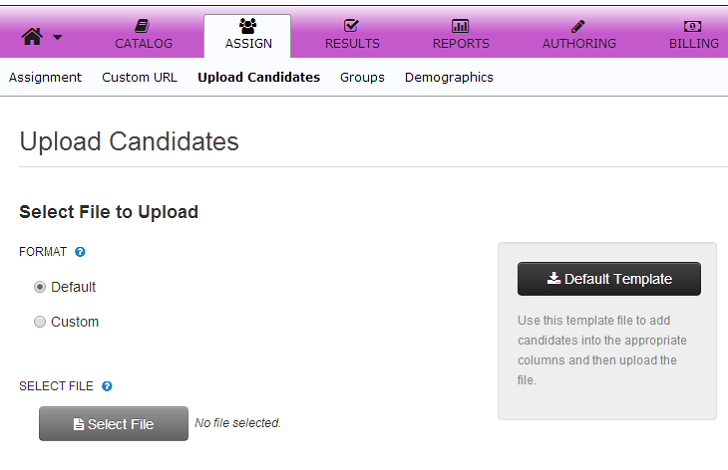
- Leave the Format at the "Default" selection and click the Select File button to locate the placeholder candidate file on your hard drive.
- Once the file is selected, click the Continue button.
- The following page is displayed:
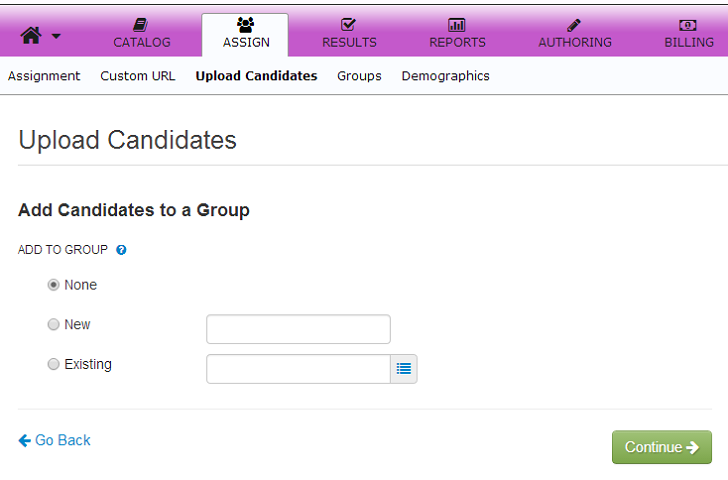
- Select New and type in a Group Name of your choice. This will be the Group to hold your Custom URL candidates.
- Click the Continue button.
- A Review page is displayed so you can confirm the details. Click the Upload Candidates button to upload and create the new Group.
[back to top]